How to Implement a Map View in SwiftUI

Hello everyone, welcome back to our SwiftUI tutorial series. This time, we are going to learn one of the important features of iOS in particular and mobile in general: MapView. With SwiftUI, using a MapView in your app is not as trivial as it used to be. But it is totally possible to use a Map View in SwiftUI, which is what we tackle in this SwiftUI tutorial.
Since this article has many important parts, we will solely focus on a few key things: showing map view in SwiftUI along with the current location of users and finally displaying the annotations/checkpoints on the map.
To avoid getting us into too much detail, we will skip and not explain the following:
-
Seeking permission to access the user’s location.
-
Declare property List Keys in Info.plist.
-
Integrating UIKit into SwiftUI part
If you would like to learn everything from scratch, click on the links above. They are extremely detailed and have almost everything you need. Let’s get started.
Ship faster with All Access. Get the Swift templates, admin panels, updates, and launch bonuses that help you build faster.
Explore All Access1. Showing the Map With the Current Location
In this section, we’re going to learn how to create a simple MapView without passing any data. Add the following code:
struct MapView: UIViewRepresentable {

  var locationManager = CLLocationManager()
  func setupManager() {
    locationManager.desiredAccuracy = kCLLocationAccuracyBest
    locationManager.requestWhenInUseAuthorization()
    locationManager.requestAlwaysAuthorization()
  }

  func makeUIView(context: Context) -> MKMapView {
    setupManager()
    let mapView = MKMapView(frame: UIScreen.main.bounds)
    mapView.showsUserLocation = true
    mapView.userTrackingMode = .follow
    return mapView
  }

  func updateUIView(_ uiView: MKMapView, context: Context) {
  }
}
In the above Swift code snippet, we have done the following:
-
Declare locationManager with the desired permissions.
-
Display current location on Map
In general, this is fairly simple in theory. Things only get a little more complicated when we handle specific cases, where users deny or agree to provide access.
Ship faster with All Access. Get the Swift templates, admin panels, updates, and launch bonuses that help you build faster.
Explore All AccessThe next part you probably already guessed it. We will embed our MapView inside the ContentView. Add the following code:
struct ContentView: View {
  var body: some View {
    MapView()
  }
}
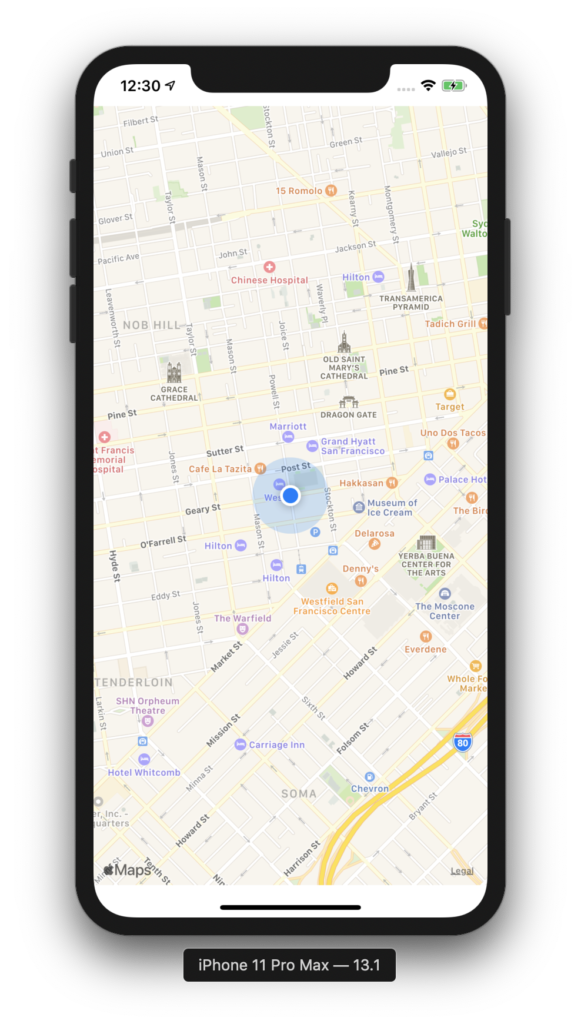
Build and run the app. Looks cool, right? Try dark mode too!
2. Show Annotations on the Map
In the previous section, we’ve implemented a simple MapView. In this next step, we will create a slightly more complex view, by making more modifications to the original code.
For ease of comparison and reference, we adopt two MapViews in two different classes. To switch the MapView mode you wish to see, just change the type of ContentView (ContentView and ContentViewAdvance) inside the AppDelegate file:
First, we create the Checkpoint object with the name and location.
final class Checkpoint: NSObject, MKAnnotation {
  let title: String?
  let coordinate: CLLocationCoordinate2D

  init(title: String?, coordinate: CLLocationCoordinate2D) {
    self.title = title
    self.coordinate = coordinate
  }
}
Next inside the MapView class, we have a variable that is used to store an array of checkpoints.
struct MapViewAdvance: UIViewRepresentable {
  @Binding var checkpoints: [Checkpoint]

  func makeUIView(context: Context) -> MKMapView {
    MKMapView()
  }

  func updateUIView(_ uiView: MKMapView, context: Context) {
  }
}
MapKit supports the display of annotations/checkpoints by calling the addAnnotations function as follows. And we will call it inside the UpdateView function:
func updateUIView(_ uiView: MKMapView, context: Context) {
    uiView.addAnnotations(checkpoints)
}
Next inside ContentView, we will initialize an array of Checkpoints with some specific examples. Finally, we call our MapView to display it.
struct ContentViewAdvance: View {
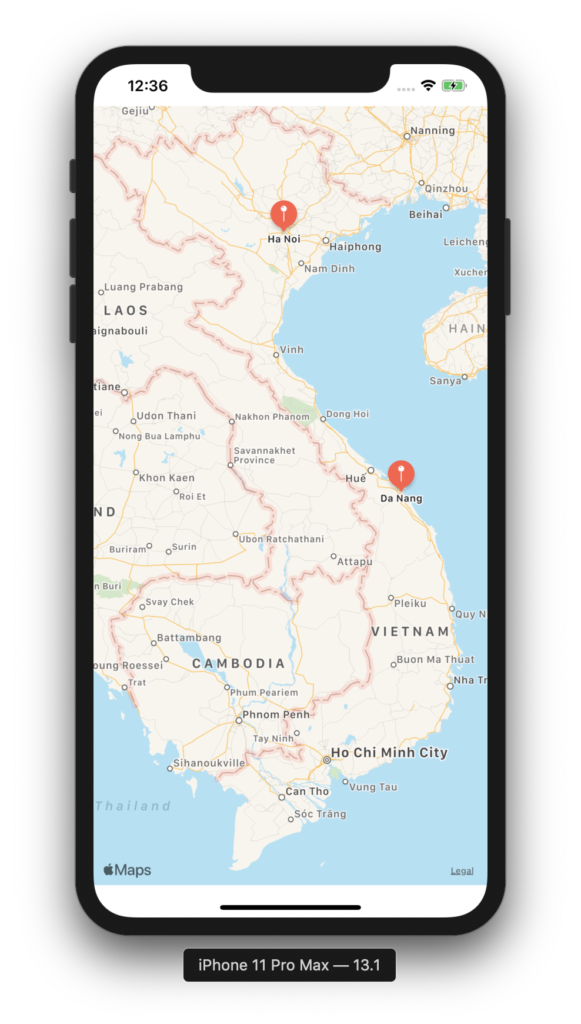
@State var checkpoints: [Checkpoint] = [
Checkpoint(title: "Da Nang", coordinate: .init(latitude: 16.047079, longitude: 108.206230)),
Checkpoint(title: "Ha Noi", coordinate: .init(latitude: 21.027763, longitude: 105.834160))
]
var body: some View {
MapViewAdvance(checkpoints: $checkpoints)
}
}
Build and run apps to enjoy a nice screen:
Looking for a custom mobile application?
Our team of expert mobile developers can help you build a custom mobile app that meets your specific needs.
Get in TouchConclusion
Well, we have implemented MapView with SwiftUI with the most important features. As you can see from the recent tutorials, SwiftUI is getting traction and it is also quite flexible when since it can be mixed with existing UIKit components. The challenge for you is to address cases related to permissions to display accordingly. Give it a try 🙂 Hope you can gain some great knowledge after this article. And as usual, if you find this article great, don’t hesitate to give us 1 star in this source code on Github. Thanks and stay tuned. LE: If you are looking to implement a similar feature in React Native, check out this stunning Uber Clone.
The challenge for you is to address cases related to permissions to display accordingly. Give it a try 🙂 Hope you can gain some great knowledge after this article. And as usual, if you find this article great, don’t hesitate to give us 1 star in this source code on Github. Thanks and stay tuned.
LE: If you are looking to implement a similar feature in React Native, check out this stunning Uber Clone.